
When you're miles from civilization on a remote trail, a mechanical issue can quickly transform an epic adventure into a long walk home. A well-planned bikepacking repair kit is your insurance policy against trail-side disasters. This comprehensive guide will help you assemble the perfect toolkit for your next bikepacking adventure, ensuring you're prepared for common mechanical issues without carrying your entire workshop on your back.

Why Your Bikepacking Repair Kit Matters
A mechanical failure in the backcountry can quickly turn a pleasant ride into a challenging situation. Unlike urban cycling where help is usually a phone call away, bikepacking often takes you to remote areas with limited cell service and no nearby bike shops. Your repair kit becomes your lifeline.
"The difference between an adventure and an ordeal often comes down to having the right tools at the right time."
The perfect bikepacking repair kit balances three critical factors: weight, functionality, and your mechanical knowledge. There's no point carrying tools you don't know how to use, but being unprepared can leave you stranded. This guide will help you find that sweet spot for your specific needs.

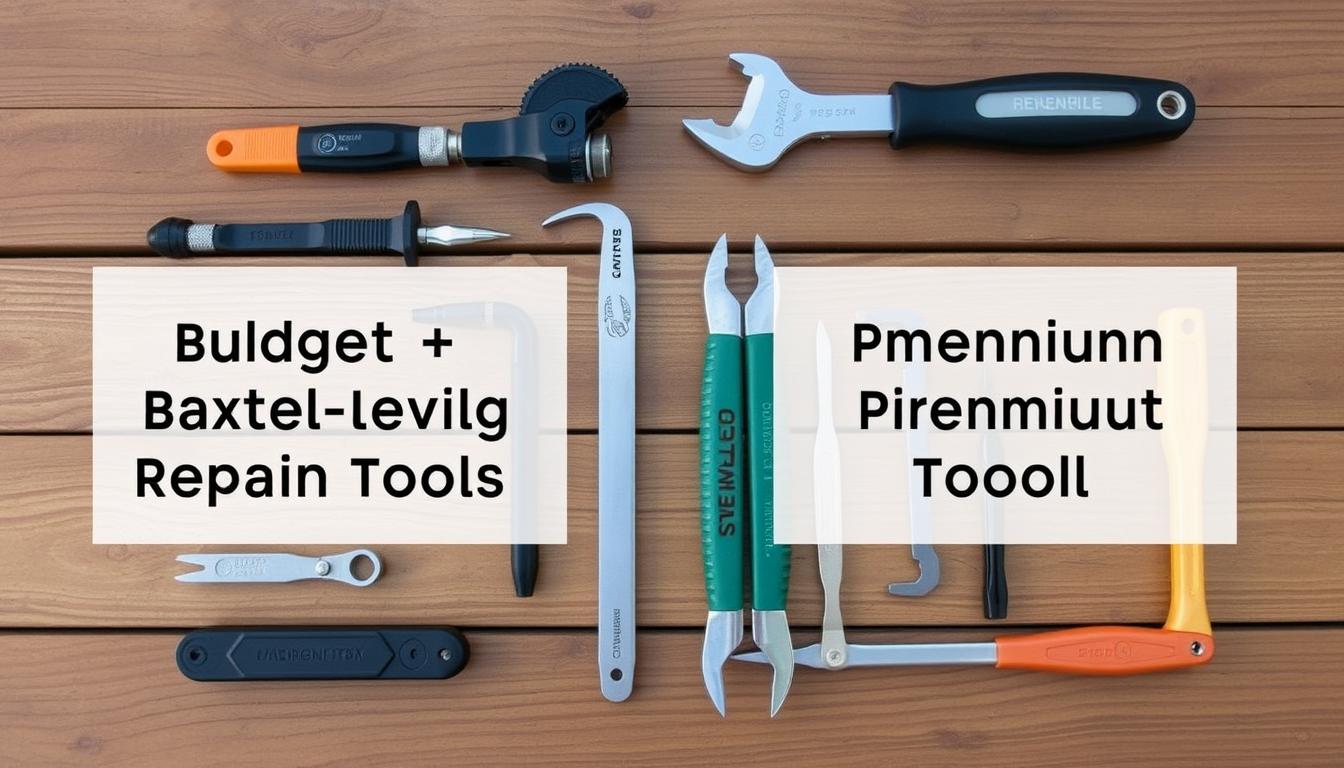
Essential Tools for Your Bikepacking Repair Kit
Every bikepacking repair kit should include certain fundamental items. These tools address the most common mechanical issues you're likely to encounter on the trail. While your specific needs may vary based on your bike and trip duration, these essentials form the foundation of any good repair kit.
Multi-tool with Chain Breaker
A quality multi-tool is the heart of your repair kit. Look for one that includes 2-8mm Allen keys, Torx heads (if your bike uses them), screwdrivers, and a chain tool. The Topeak ALiEN II and Crank Brothers M19 are popular options that balance functionality and weight.

Tire Levers and Patch Kit
Flat tires are the most common mechanical issue. Pack at least two durable tire levers (avoid flimsy plastic ones) and a quality patch kit. For tubeless setups, include tire plugs and a small bottle of sealant.
Portable Pump
A reliable mini-pump is essential. Models like the Lezyne Micro Floor Drive offer the perfect balance of portability and efficiency. Some bikepackers also carry a CO2 inflator for quick inflation, especially helpful for reseating tubeless tires.
Quick Links and Chain Lube
Carry 2-3 quick links compatible with your chain and a small bottle of chain lube. A broken chain can be quickly repaired with these items, getting you back on the trail in minutes rather than hours of walking.

Additional Essential Items
Choosing the Right Bikepacking Repair Kit
Pre-made vs. DIY Repair Kits
Pre-made Kit Advantages
- Convenience - everything in one package
- Often comes in a purpose-designed container
- Good starting point for beginners
- Usually includes the most common essentials
Pre-made Kit Disadvantages
- May include tools you don't need
- Often missing bike-specific items
- Generally lower quality tools
- Less customizable to your specific needs
Most experienced bikepackers prefer to build their own kits, tailored to their specific bikes and trips. This approach ensures you carry exactly what you need—no more, no less.
Budget Considerations
Quality tools are an investment that pays off in reliability and longevity. Cheap multi-tools can strip bolt heads or break when you need them most. Focus your budget on the most critical items: multi-tool, pump, and tire repair equipment.
Weight vs. Functionality: For shorter trips (1-3 days) near civilization, you can minimize your kit. For remote, multi-week adventures, a more comprehensive kit is worth the extra weight.
Trail-side Maintenance Tips
Knowing how to use your tools effectively is just as important as having them. Here are some quick fixes for common mechanical issues you might encounter while bikepacking.
Fixing a Flat Tire

Repairing a Broken Chain
Adjusting Derailleur Issues
Shifting problems often occur after a crash or when your bike is transported. Most can be resolved with simple adjustments:
Always carry a spare derailleur hanger specific to your bike. This small, lightweight part is one of the most commonly damaged components and can be impossible to find on the trail.
Building Your Custom Bikepacking Repair Kit
Creating a personalized repair kit ensures you have exactly what you need for your specific bike and trip. Follow these steps to build the perfect kit:
Step 1: Assess Your Bike's Specific Needs
Step 2: Consider Your Trip Parameters
Short Trips (1-3 days)
Extended Trips (4+ days)
Step 3: Organize Your Kit
How you pack your repair kit matters. Keep frequently used items accessible and protect everything from moisture and dirt.

Real-Life Bikepacking Repair Scenarios
Learning from others' experiences can help you prepare for your own adventures. Here are real stories of mechanical issues solved with well-prepared repair kits:
The Broken Spoke in Backcountry Montana

During a solo trip through the Montana backcountry, Alex was 40 miles from the nearest town when a loud ping signaled a broken spoke. The rear drive-side spoke had snapped, threatening to warp his wheel beyond rideable condition. Thanks to his repair kit containing spare spokes, a spoke wrench, and a compact cassette tool, he was able to remove the cassette, replace the spoke, and true the wheel enough to continue his journey.
Key takeaway: Carrying the right specialized tools (cassette remover, spoke wrench) and knowing how to use them turned a potential trip-ender into a 30-minute repair.
Chain Disaster in the Desert
During a bikepacking trip through the Arizona desert, Maria's chain broke and became badly damaged after wrapping around her cassette. With temperatures over 100°F and no cell service, walking out would have been dangerous. Using her multi-tool's chain breaker, she removed the damaged section, reconnected the chain with a quick link, and continued riding with slightly limited gearing options.
Key takeaway: A quality chain tool and spare quick links are lightweight items that can save your trip in critical situations.
Top Bikepacking Repair Kit Recommendations
Based on extensive testing and feedback from experienced bikepackers, these are our top recommendations for reliable repair tools and kits:

Topeak Alien III Multi-Tool
This comprehensive multi-tool includes 25 functions in a compact package. With everything from Allen keys to a chain breaker and tire levers, it's the ultimate all-in-one solution for bikepacking repairs.
- 25 functions including chain tool
- Durable construction with aluminum side plates
- Includes tire levers and spoke wrenches
- Weight: 295g

Wolf Tooth EnCase System
This innovative system stores essential tools inside your handlebar ends. The kit includes a multi-tool, chain breaker, tire plug kit, and storage sleeves that fit most handlebars.
- Space-saving design that hides in handlebars
- Includes hex bits, chain tool, and tire repair
- Weatherproof storage
- Weight: 160g (complete system)

Blackburn Tradesman Multi-Tool
This ratcheting multi-tool offers excellent leverage and ease of use. The magnetic bit holder and included bits cover virtually all common bike repairs in a compact package.
- Ratcheting design for better leverage
- Magnetic bit holder with 15 bits
- Includes chain tool and disc pad spreader
- Weight: 162g
Complete Kit Options

Lezyne Port-A-Shop Tool Kit
For those who want a complete solution, this comprehensive kit includes everything you need for trailside repairs. The roll-up case organizes tools efficiently while keeping weight reasonable.
- Complete toolkit in a compact roll-up case
- Includes multi-tool, tire levers, patch kit
- Chain tool and quick links included
- Weight: 450g

Silca Seat Roll Premio
This waterproof seat roll includes essential tools and fits neatly under your saddle. The BOA closure system ensures it stays secure even on rough terrain.
- Waterproof waxed canvas construction
- BOA closure system for security
- Includes multi-tool, tire levers, and tube
- Weight: 260g (with tools)
Your Bikepacking Repair Kit Checklist
Use this comprehensive checklist to ensure your repair kit is complete before your next adventure. Adapt it based on your specific bike, trip length, and mechanical skills.
Essential Tools
Tire Repair
Spare Parts
Miscellaneous
Ready to Build Your Kit?
Start with the essentials and gradually add items as you gain experience. Remember that the best repair kit is one you know how to use!
Shop Bike ToolsFinal Thoughts on Bikepacking Repair Kits
A well-thought-out bikepacking repair kit provides peace of mind that can transform how you experience your adventure. Rather than worrying about mechanical failures, you can focus on enjoying the journey, knowing you're prepared for common issues.
Remember that your repair kit should evolve with your experience and the specific demands of each trip. Start with the essentials, learn to use them effectively, and gradually add specialized tools as your mechanical skills and adventure ambitions grow.

Most importantly, practice using your tools before you need them in a real situation. The trail side of a remote mountain pass is not the place to learn how to replace a spoke or repair a chain. A little preparation goes a long way toward ensuring your bikepacking trips remain adventures rather than ordeals.
What's in your bikepacking repair kit? Have you had any trail-side mechanical issues that taught you valuable lessons? Continue refining your kit based on your experiences, and you'll be prepared for whatever the trail throws your way.


